


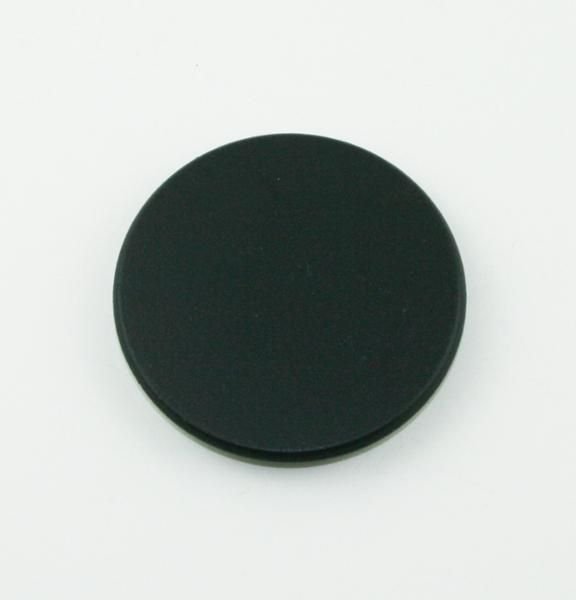
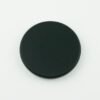
GE BURNER CAP ASSEMBLY – WB29K10022
$13.74
- Genuine OEM Quality: These parts are manufactured by the same company that made your appliance, ensuring compatibility and performance.
- Perfect Fit: OEM parts are designed to fit your specific appliance model perfectly, reducing the need for modifications or adjustments.
- Optimal Performance: OEM parts deliver the same level of performance and efficiency as the original components, maintaining your appliance’s functionality.
Available on backorder
The WB29K10022 GE Burner Cap Assembly is the perfect part to replace your worn-out or damaged burner cap. This assembly is designed to fit different models of GE electric ranges and includes everything you need to get your burners working like new again. The cap features durable construction with stainless steel and porcelain materials so that it will remain reliable even in high temperatures. It also provides additional safety by blocking the flame from the burner, ensuring your kitchen stays safe. Get your GE range back in top condition with the WB29K10022 GE Burner Cap Assembly. We’re your #1 source for genuine OEM appliance parts. Contact us for further questions as well as any other appliance parts needs! Step 1: Unplug your stove. For safety, it is important to unplug your stove before doing any maintenance work.
Step 2: Locate the WB29K10022 GE Burner Cap Assembly. To find the burner cap assembly, you will need to remove the panel covering the bottom of the stove. You may need a screwdriver to open the panel.
Step 3: Remove the WB29K10022 GE Burner Cap Assembly. Use a pair of needle-nose pliers to remove the screws that hold the burner cap in place. Once the screws are removed, you can carefully pull out the burner cap from its housing.
Step 4: Clean the area. Use a cloth and mild detergent to clean the area where the burner cap assembly was. This will help ensure that the new part will fit in properly.
Step 5: Install the new WB29K10022 GE Burner Cap Assembly. Place the new burner cap in its housing and secure it with the screws you removed earlier. Make sure the screws are tight, so the burner cap won’t come loose when you use the stove.
Step 6: Plug in your stove. After ensuring the new burner cap assembly is secured properly, plug your stove back in. Turn on a burner and check to see if it is working properly.
And there you have it! Follow these steps to replace the WB29K10022 GE Burner Cap Assembly. Be sure to wear appropriate safety gear while doing any type of maintenance work on your stove.
Please keep in mind, these instructions are for general guidance and should always be used in conjunction with the manufacturer’s manual, if available. Search C2S980SEM1SS C2S980SEM2SS C2S980SEM3SS C2S980SEM4SS C2S980SEM5SS C2S980SEM6SS CGP350SET1SS CGP650SET1SS CGS975SED1SS CGS975SED3SS CGS980SEM1SS CGS980SEM2SS CGS980SEM3SS CGS980SEM4SS CGS980SEM5SS CGS980SEM7SS EGR3000EP1BB EGR3000EP1WW EGR3000EP2BB EGR3000EP2WW EGR3001EJ1SS EGR3001EJ2SS EGR3001EJ4SS EGR3001EL1SS EGR3001EL2SS EGR3001EP1SS EGR3001EP2SS J2B912SEL2SS J2B915SEH2SS J2B915SEH3SS J2B918SEL2SS J2BP85SEL1SS J2BP85SEL2SS J2BP85SEL3SS JGB281DER1BB JGB281DER1CC JGB281DER1WW JGB281DER2BB JGB281DER2CC JGB281DER2WW 1 2 3 4 5
Only logged in customers who have purchased this product may leave a review.
Related products

Reviews
There are no reviews yet.