


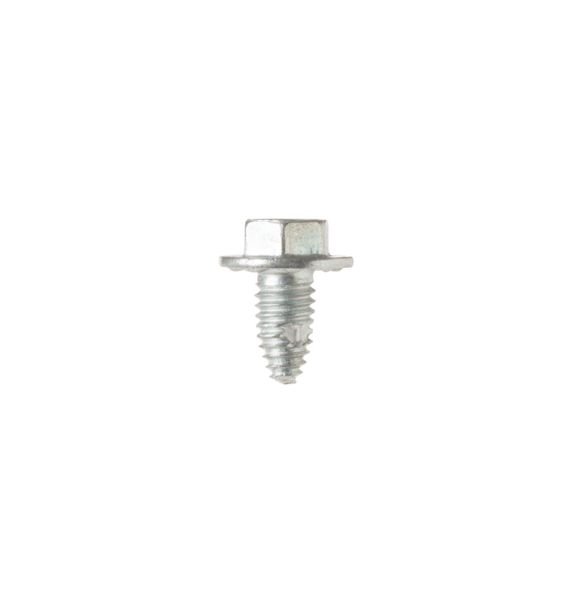
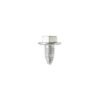
GE DISHWASHER SCREW 10-32 GX HXW 3/8 – WD02X10220
$15.00
- Genuine OEM Quality: These parts are manufactured by the same company that made your appliance, ensuring compatibility and performance.
- Perfect Fit: OEM parts are designed to fit your specific appliance model perfectly, reducing the need for modifications or adjustments.
- Optimal Performance: OEM parts deliver the same level of performance and efficiency as the original components, maintaining your appliance’s functionality.
Available on backorder
The GE WD02X10220 SCR 10-32 GX HXW 3/8 is a high-performance and reliable fastener solution for a variety of applications. It provides plenty of strength and durability to help keep your projects together. This screw can easily be installed in a wide range of materials, including wood and metal, making it incredibly versatile. The hex washer head ensures that the fastener will remain secure even during the most demanding jobs. With its corrosion-resistant zinc plating, you can be assured that the fastener will look good and last for years. Make sure you always have the right screw for your project with the GE WD02X10220 SCR 10-32 GX HXW 3/8. We’re your #1 source for genuine OEM appliance parts. Contact us for further questions as well as any other appliance parts needs! DIY Guide to Replacing GE WD02X10220 SCR 10-32 GX HXW 3/8
Replacing your GE WD02X10220 SCR 10-32 GX HXW 3/8 is easy and it’s a great way to do some routine maintenance on your appliances. Before you begin, make sure you have the correct tools, such as a screwdriver, socket wrench and safety goggles, to perform the task safely.
Step 1: Unplug the appliance from the power source. This prevents you from getting an electric shock or damaging the appliance in any way.
Step 2: Remove the screws that hold the back panel of the appliance in place. Once these screws are removed, the back of the appliance is accessible and you can start replacing the parts.
Step 3: Locate the GE WD02X10220 SCR 10-32 GX HXW 3/8 and remove it. Use a screwdriver to loosen the screws that hold the part in place.
Step 4: Slide the new part into place and screw it in tightly. Make sure that it is secure before continuing.
Step 5: Replace the back panel of the appliance and secure it with the screws that you removed in step 2.
Step 6: Plug the appliance back in and test it out to make sure that it is working properly.
You have now successfully replaced the GE WD02X10220 SCR 10-32 GX HXW 3/8 in your appliance! Congratulations, you just saved yourself a trip to the repair shop and some money too.
Please keep in mind, these instructions are for general guidance and should always be used in conjunction with the manufacturer’s manual, if available. Search GDF610PGJ5BB GDF610PGJ5WW GDF610PGJ4BB GDF610PGJ4WW GDF610PGJ2BB GDF610PGJ0WW GDF610PGJ0BB GDF610PGJ2WW GDT545PGJ6WW GDT635HGJ6BB GDF620HGJ6BB GDF610PSJ6SS GDF610PMJ6ES GDT635HSJ6SS GDT535PGJ6BB GDT635HGJ6WW GDF610PGJ6WW GDF510PGJ6WW GDT635HMJ6ES GDT535PSJ6SS GDF520PSJ6SS GDF520PMJ6ES GDF620HGJ6WW GDT625PGJ6WW GDT535PGJ6WW GDT625PGJ6BB GDF610PGJ6BB GDF510PMJ6SA GDF510PGJ6BB GDF520PGJ6CC GDF620HSJ6SS GDF520PGJ6WW GDT625PSJ6SS GDF520PGJ6BB GDF620HMJ6ES GDT545PFJ6DS GDT535PSM0SS GDT535PGM0WW GDF511PGM0WW GDT535PGM0BB 1 2 3 4 5
Only logged in customers who have purchased this product may leave a review.
Related products

Reviews
There are no reviews yet.