


GE PRESSURE SWITCH – WH12X10595
$36.40
- Genuine OEM Quality: These parts are manufactured by the same company that made your appliance, ensuring compatibility and performance.
- Perfect Fit: OEM parts are designed to fit your specific appliance model perfectly, reducing the need for modifications or adjustments.
- Optimal Performance: OEM parts deliver the same level of performance and efficiency as the original components, maintaining your appliance’s functionality.
Available on backorder
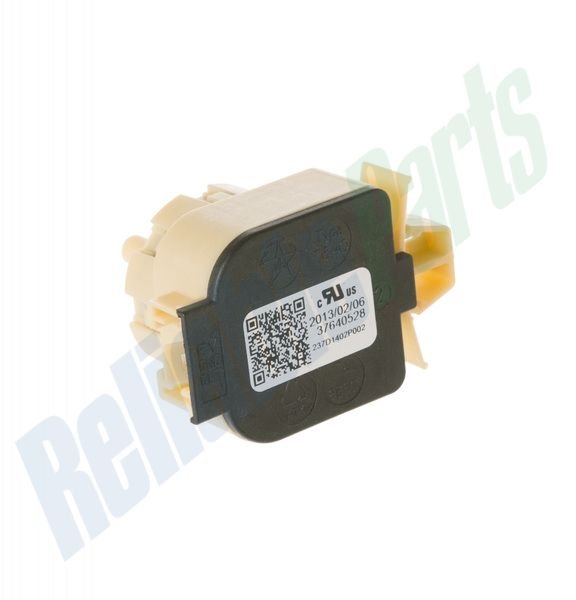
The GE WH12X10595 Sensor Pressure is a genuine OEM (Original Equipment Manufacturer) replacement part designed for washing machines. This high-quality part monitors the amount of water filled in your machine and will shut off the water fill once the correct level is reached. It also keeps track of the pressure switch cycles to monitor the amount of water used in each cycle. The durable construction ensures long-lasting performance. Install this sensor quickly and easily with the included instructions. Keep your washer running smoothly and efficiently with a genuine GE replacement part. We’re your #1 source for genuine OEM appliance parts. Contact us for further questions as well as any other appliance parts needs! Step 1: Turn off the power to the washer. Unplug the washer and shut off the water supply.
Step 2: Remove the screws located at the back of the washer. Using a Phillips head screwdriver, remove the screws from the back panel and then lift it off the washer.
Step 3: Find the pressure sensor. The pressure sensor is located in the top right corner of the washer’s interior and is connected to the control board with a wiring harness.
Step 4: Disconnect the wiring harness. Pull the release tab on the side of the harness and then gently pull the harness away from the sensor.
Step 5: Remove the mounting screws. There will be two or three screws holding the sensor in place. Use a Phillips head screwdriver to loosen the screws and then remove them.
Step 6: Remove the old pressure sensor. Carefully pull the sensor away from the washer and set it aside.
Step 7: Install the new sensor. Place the new sensor into the washer and then secure it with the mounting screws.
Step 8: Reconnect the wiring harness. Connect the wiring harness to the sensor and then firmly push the release tab closed until it clicks into place.
Step 9: Replace the back panel. Reattach the back panel and then use a Phillips head screwdriver to tighten the screws.
Step 10: Restore power and turn on the water supply. Plug in the washer and turn on the water supply. Turn on the power and check that the new sensor is functioning properly.
Please keep in mind, these instructions are for general guidance and should always be used in conjunction with the manufacturer’s manual, if available. Search GFWR4800F2WW GFW480SPK0RR GFW480SSK0WW GFW490RPK0DG GFW490RSK0WW GFWR2700H0WW GFWR2700H1WW GFWR2700H2WW GFWR2705H2MC GFWR4800F1WW GFW480SPK0DG GFWR4800F3WW GFWR4805F0RR GFWR4805F3MC GFWR4805F3RR GFWS2600F0WW GFWS2600F2WW GFWS2605F0RR GHWS3605F0MC GFWR4800F0WW GFWS2505F0MC GFWS2505F0RR GHWS3605F0RR GFWS2605F0MC GFWR4805F1MC GFWR4805F1RR GHWS3600F0WW GFWR4805F0MC GFWS2500F0WW GFWR2705H1MC GFWR4805F2MC GFWR4805F2RR GFWS2600F1WW GFW490RPK0RR GFWS3700F0WW GFWS3705F0RR GFWS3705F0MC
Only logged in customers who have purchased this product may leave a review.
Related products


Reviews
There are no reviews yet.