


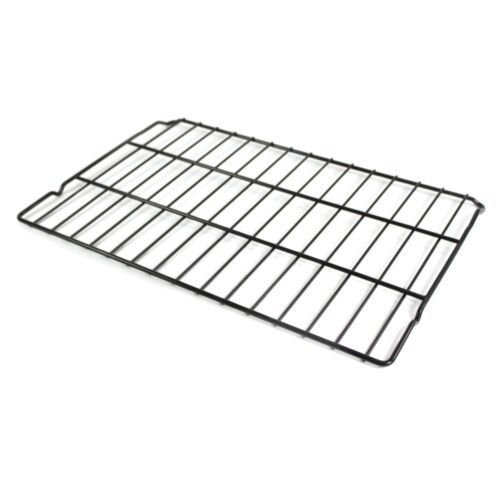
GE RACK – WB48T10059
$66.33
- Genuine OEM Quality: These parts are manufactured by the same company that made your appliance, ensuring compatibility and performance.
- Perfect Fit: OEM parts are designed to fit your specific appliance model perfectly, reducing the need for modifications or adjustments.
- Optimal Performance: OEM parts deliver the same level of performance and efficiency as the original components, maintaining your appliance’s functionality.
Available on backorder
Introducing the GE WB48T10059 Rack Oven (GY) – perfect for commercial kitchens, bakeries, and restaurants. With this unit, you can cook multiple dishes at the same time with fast, even results. You get an impressive 10-position rack, digital controls, and a powerful 9 kW oven top element and 5 kW bottom element. Plus, the porcelain enamel interior is easy to clean, and the cool-touch door provides added safety. Make all your favorite dishes, from pastries to pizzas, with the GE WB48T10059 Rack Oven (GY). We’re your #1 source for genuine OEM appliance parts. Contact us for further questions as well as any other appliance parts needs! DIY Guide to Replacing a GE WB48T10059 Rack Oven (GY)
Replacing a GE WB48T10059 Rack Oven (GY) can seem intimidating, but with the help of this guide you will be able to complete the task with ease. This DIY guide will cover all the steps from preparation to installation of the new oven. Let’s get started!
Preparation
1. Read through the installation instructions provided with your new oven and make sure you have the necessary tools on hand. You may need a wrench, screwdriver, and/or pliers.
2. Shut off power to the oven by turning off the breaker in your circuit box.
3. Disconnect the electricity supply to the oven, if it is connected.
4. Remove any shelves or racks that are in the oven.
5. If there is an existing wiring harness, disconnect it and remove the double wall oven connector.
Installation
1. Take the new oven and place it in the cabinet.
2. Secure the oven to the cabinet with the appropriate screws. Make sure the screws are tight so the oven is secure.
3. Connect the wiring harness for the oven. Make sure to match the colors of the wiring and attach them to the appropriate terminals.
4. Attach the double oven connector to the wall and make sure it is secure.
5. Turn on the breaker in the circuit box and test out the oven.
6. Reinstall any shelves or racks that were removed before.
Congratulations, you have successfully replaced your GE WB48T10059 Rack Oven (GY)! If you have followed this guide step-by-step you should now have a working oven that is ready to be used.
Please keep in mind, these instructions are for general guidance and should always be used in conjunction with the manufacturer’s manual, if available. Search JB855DP1BB JB855DP1WW JB855DP2BB JB855DP2WW JB855DP3BB JB855DP3WW JB855DP4BB JB855DP4WW JB855SP1SS JB855SP2SS JB855SP3SS JB855SP4SS P2S975DEP1BB P2S975DEP1WW P2S975DEP2BB P2S975DEP2WW P2S975DEP3BB P2S975DEP3WW P2S975SEP1SS P2S975SEP2SS P2S975SEP3SS PB970DP1BB PB970DP2BB PB970DP3BB PB970DP4BB PB970SM3SS PB970SM4SS PB970TP1WW PB970TP2WW PB970TP3WW PB970TP4WW PB975DP1BB PB975DP2BB PB975DP3BB PB975DP4BB PB975SP1SS PB975SP2SS PB975SP3SS PB975SP4SS PB975SP5SS 1 2 3 4 5
Only logged in customers who have purchased this product may leave a review.

Reviews
There are no reviews yet.