


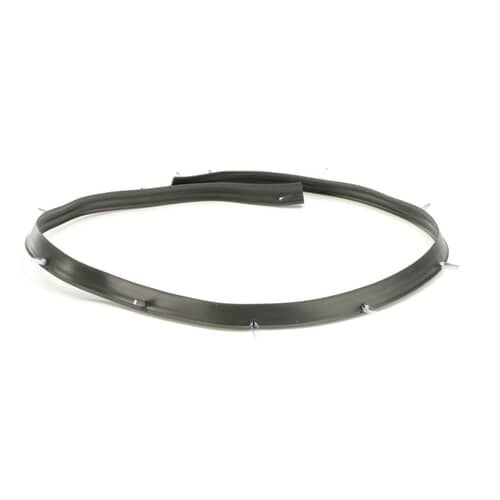
GE RANGE FRONT GASKET ASSEMBLY – WB35X28743
$15.00
- Genuine OEM Quality: These parts are manufactured by the same company that made your appliance, ensuring compatibility and performance.
- Perfect Fit: OEM parts are designed to fit your specific appliance model perfectly, reducing the need for modifications or adjustments.
- Optimal Performance: OEM parts deliver the same level of performance and efficiency as the original components, maintaining your appliance’s functionality.
Available on backorder
Front gasket assembly works with some GE, and Hotpoint models of stoves / ovens / ranges. Replacing the WB35X28743 GE Range Front Gasket Assembly
1. Unplug the power cord for your GE range from the wall outlet, and turn off the propane or gas supply to the range.
2. Remove the grates, burner caps, burner heads, and knobs from the cooktop of your range.
3. Pull off the old front gasket assembly. It may be necessary to use a flathead screwdriver to help pry up the edges of the gasket in order to remove it. Care should be taken to not damage the edge of the range top.
4. Clean the surface of the cooktop where the front gasket assembly is to be replaced with a cloth dampened with warm, soapy water and let it dry completely.
5. Begin by unrolling the replacement gasket assembly, starting at one end. Place the gasket assembly in position on the cooktop and press down lightly along the edges.
6. Once the gasket is in place, use a flathead screwdriver again to press the gasket into place. This will ensure that there are no gaps in between the gasket and the surface of the cooktop.
7. Reinstall the grates, burner caps, burner heads, and knobs.
8. Restore power and the gas supply to the range.
Your GE range front gasket assembly will now be replaced. Enjoy your improved cooking experience.
Please keep in mind, these instructions are for general guidance and should always be used in conjunction with the manufacturer’s manual, if available. Search CHS950P4M2W2 CHS995SEL2SS CHS985SEL2SS CHS950P4M1W2 CHS900P3M2D1 CHS900P3M1D1 CHS900P2M2S1 CES700P3M1D1 CHS900P4M2W2 CES750P4M1W2 CHS950P2M2S1 CHS950P3M2D1 CHS950P2M1S1 CHS900P2M1S1 CHS950P3M1D1 CHS985SEL1SS CHS995SEL1SS CES750P3M1D1
Only logged in customers who have purchased this product may leave a review.
Related products


Reviews
There are no reviews yet.