


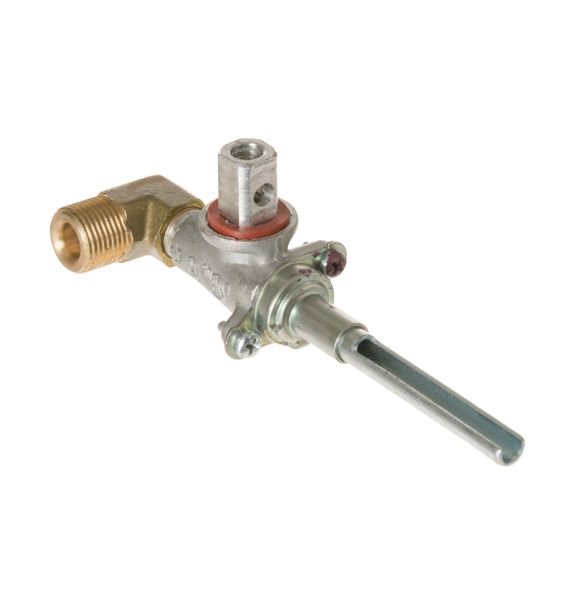
GE SURFACE BURNER VALVE – WB19T10085
$63.26
- Genuine OEM Quality: These parts are manufactured by the same company that made your appliance, ensuring compatibility and performance.
- Perfect Fit: OEM parts are designed to fit your specific appliance model perfectly, reducing the need for modifications or adjustments.
- Optimal Performance: OEM parts deliver the same level of performance and efficiency as the original components, maintaining your appliance’s functionality.
Available on backorder
Are you looking for a reliable and long-lasting replacement for your current gas valve? Look no further than the GE WB19T10085 Gas Valve! This valve replaces many older-style valves, making installation easy. Featuring a sturdy brass construction and a durable thermostat, this valve is designed to last. The thermostat helps ensure that the temperature remains consistent throughout your cooking process. Additionally, this valve has been tested and certified to meet CSA standards, giving you peace of mind that it is efficient and safe. Upgrade your kitchen today with the GE WB19T10085 Gas Valve! We’re your #1 source for genuine OEM appliance parts. Contact us for further questions as well as any other appliance parts needs! DIY: How to Replace GE WB19T10085 Gas Valve
Replacing the gas valve on your GE stove can seem like a daunting task, but with the right tools and following these simple steps, you can easily update your gas valve.
Materials Needed:
-GE WB19T10085 Gas Valve
-Screwdriver
-Penetrating Oil
-Pliers
-Safety Goggles
Instructions:
1. Gather Your Materials: Make sure you have all the necessary materials before you start. Safety goggles are essential, as this project can involve potentially hazardous gas and debris flying around.
2. Shut Off Gas Supply: Before you do anything, make sure you turn off the main gas valve for your stove. This will prevent any leaks or fires from occurring during the project.
3. Remove Old Valve: Using a screwdriver, remove the screws that are securing the old gas valve in place. Once the screws are out, you can remove the old valve from the stove.
4. Clean the Area: Now that the old valve is out of the way, use a rag and some penetrating oil to clean the area where the new valve will go. Make sure you get any dust, dirt, and grease off the surface before continuing.
5. Install New Valve: Once the area is clean and dry, you can begin installing the new valve. Start by lining up the two halves of the valve and then slide it into place. You may need to use pliers to tighten the screws in order to secure the new valve in place.
6. Test the Valve: Once the new valve is installed, it’s time to test it out. Turn the main gas supply back on and test the new valve to make sure that it’s working correctly. If everything looks good, you’re done!
Conclusion:
Replacing the gas valve in your GE stove doesn’t have to be a difficult task. With the right instructions and the right tools, you can easily update your gas valve and keep your stove running smoothly.
Please keep in mind, these instructions are for general guidance and should always be used in conjunction with the manufacturer’s manual, if available. Search PGP953DET1BB PGP953SET5SS PGP976DET5BB PGP976DET5WW PGP976SET5SS PGP986SET5SS PGP976DET1WW PGP976SET2SS CGP350SET3SS CGP650SET3SS PGP953DET5WW PGP953DET1WW PGP959SET4SS PGP976DET1BB PGP976DET2BB PGP976DET2WW PGP976DET4BB PGP976DET4WW PGP976SET1SS PGP986SET4SS PGP959SET1SS CGP650SET1SS PGP953DET2BB PGP953DET2WW PGP953SET1SS PGP953SET2SS PGP986SET1SS PGP986SET2SS CGP350SET2SS CGP650SET2SS CGP350SET1SS PGP959SET2SS PGP959SET5SS PGP976SET4SS CGP650SET4SS CGP350SET4SS PGP953DET4BB PGP953DET4WW PGP953SET4SS PGP953DET5BB
Only logged in customers who have purchased this product may leave a review.
Related products

Reviews
There are no reviews yet.