


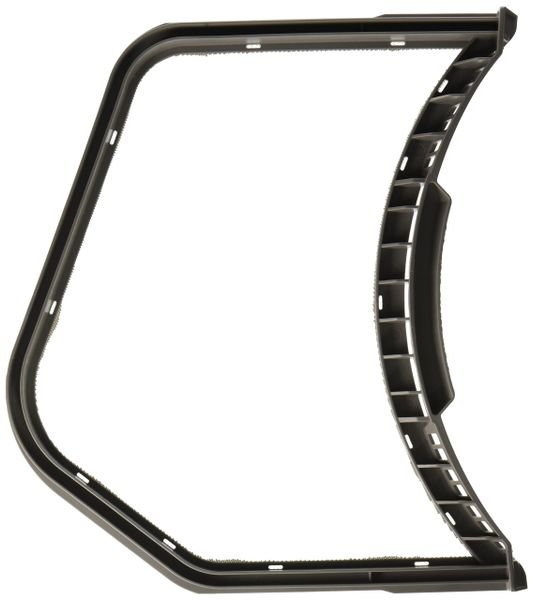
SAMSUNG DRYER LINT SCREEN FILTER CASE ASSEMBLY – DC61-01521A
$55.07
- Genuine OEM Quality: These parts are manufactured by the same company that made your appliance, ensuring compatibility and performance.
- Perfect Fit: OEM parts are designed to fit your specific appliance model perfectly, reducing the need for modifications or adjustments.
- Optimal Performance: OEM parts deliver the same level of performance and efficiency as the original components, maintaining your appliance’s functionality.
Available on backorder
Lint screen filter case assembly for some models of Samsung dryers. Step 1: Disconnect the Power of the Dryer
Before beginning any DIY project for your Samsung dryer, it is important to disconnect all power sources. Unplug the device from the wall and turn off the circuit breaker.
Step 2: Remove the Existing Lint Screen
Open the lint screen filter and detach the casing around the filter, which is held in place by two screws located at the top of the filter. Remove the screws, taking care not to misplace them, and remove the existing lint screen filter case assembly.
Step 3: Install the New Filter Case Assembly
Place the new filter case assembly over the opening where the old filter case assembly was located. Secure the filter in place by reinserting the screws and tightening them with a flat head screwdriver.
Step 4: Test the Dryer
Once you have installed the new filter, reconnect the power source to your dryer. Make sure that the filter is firmly in place and that there are no signs of visible damage before attempting to use the device. To test whether the filter is functioning properly, run the dryer on a low setting for 10 minutes and observe for any issues or missed sections.
Please keep in mind, these instructions are for general guidance and should always be used in conjunction with the manufacturer’s manual, if available. Search DV338AEB/XAA-00 DV331AER/XAA-03 DV331AER/XAA-02 DV331AER/XAA-01 DV330AEB/XAA-03 DV330AEB/XAA-02 DV330AEB/XAA-00 DV218AEW/XAA-01 DV218AEW/XAA-00 DV218AEB/XAA-01 DV218AEB/XAA-00 DV206AES/XAA-00
Only logged in customers who have purchased this product may leave a review.
Related products


Reviews
There are no reviews yet.