


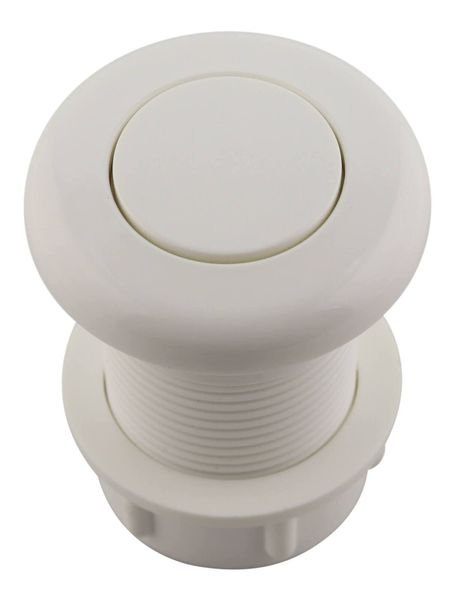
SPEED QUEEN LOCKNUT – 29220
$15.00
- Genuine OEM Quality: These parts are manufactured by the same company that made your appliance, ensuring compatibility and performance.
- Perfect Fit: OEM parts are designed to fit your specific appliance model perfectly, reducing the need for modifications or adjustments.
- Optimal Performance: OEM parts deliver the same level of performance and efficiency as the original components, maintaining your appliance’s functionality.
Available on backorder
The LOCKNUT is a revolutionary new tool for securing your nuts and bolts. This innovative product is designed to provide superior, long-lasting security for any application where nuts and bolts are used. Made of durable stainless steel, the LOCKNUT offers superior strength and protection against tampering, vibration, or corrosion. With its unique shape, the LOCKNUT fits snugly over standard nuts and bolts and creates an additional layer of protection that can’t be easily loosened. Easy to use and install, the LOCKNUT is a must-have tool for anyone who wants to ensure the safety and security of their hardware. We’re your #1 source for genuine OEM appliance parts. Contact us for further questions as well as any other appliance parts needs! on a bicycle wheel
Replacing the Locknut on a Bicycle Wheel
If you find yourself with a wheel in need of repairs, you’re likely dealing with a broken locknut. The locknut is one of the most important components of wheels as it secures the wheel hub and wheel spokes together. Replacing a locknut is an easy DIY project that can be accomplished with minimal tools and some patience.
Step 1: Disassemble the wheel. Begin by removing the wheel from the bike frame. Hold the wheel firmly and unscrew the nuts and bolts that secure it in place. Pay attention to how the wheel was originally assembled so you will know how to put it back together.
Step 2: Prepare the wheel. Once the wheel is removed from the bike, you will see the locknut at the wheel’s center. To gain access to the locknut, you may need to remove the axle, brake rotor, and/or wheel spokes.
Step 3: Unscrew the locknut. Place the appropriate sized wrench on each side of the locknut. Turn the wrenches in opposite directions until the locknut is loosened. Don’t be afraid to use force, as the locknut is secured very tightly in place.
Step 4: Remove the locknut. After the locknut has been loosened, you can remove it from the wheel. You may need to use a hammer or other tool to remove the nut from its seat.
Step 5: Replace the locknut. Insert a new locknut into the wheel hub and ensure that it is securely fastened. Use the same wrenches and turn them in opposite directions to tighten the locknut.
Step 6: Reassemble the wheel. After the locknut has been replaced, you can begin to reassemble the wheel. Put back any pieces that were removed and secure them in place.
Step 7: Test the wheel. Before installing the wheel onto the bike frame again, it is important to test the wheel. Make sure that the locknut is secure and that the wheel spins smoothly.
After you have finished replacing the locknut, the wheel should be fully functional and ready to put back into action. Replacing the locknut on a bicycle wheel is an easy DIY task that anyone can do. It’s important to ensure that the locknut is installed correctly, as this is key to ensuring the safety of your wheel.
Please keep in mind, these instructions are for general guidance and should always be used in conjunction with the manufacturer’s manual, if available. Search AA3110 AA3111 AA3210 AA4110 AA4111 AA4210 AA4210-2210 AA4211 AA4211-2210 AA4212 AA5121 AA5220 AA5221 AA5222 AA6121 AA6221 AA7131 AA7231 AA8231 AA9131 AA9231 AWN311SP111TW01 AWN312SP303LW22 AWN402PP111TW01 AWN412SP111TW01 AWN432SP111TW01 AWN432SP113CW04 AWN432SP113FW28 AWN432SP113TW01 AWN432SP113TW04 AWN43RSN115CW01 AWN43RSN115CW14 AWN43RSN115TW01 AWN542SP111TW01 AWN542SP111TWAH AWN552SN301AW01 AWN552SN301NW22 AWN552SN301NW29 AWN63RSN115CW01 AWN63RSN115CW14 1 2 3 4 5
Only logged in customers who have purchased this product may leave a review.

Reviews
There are no reviews yet.