






















DIY
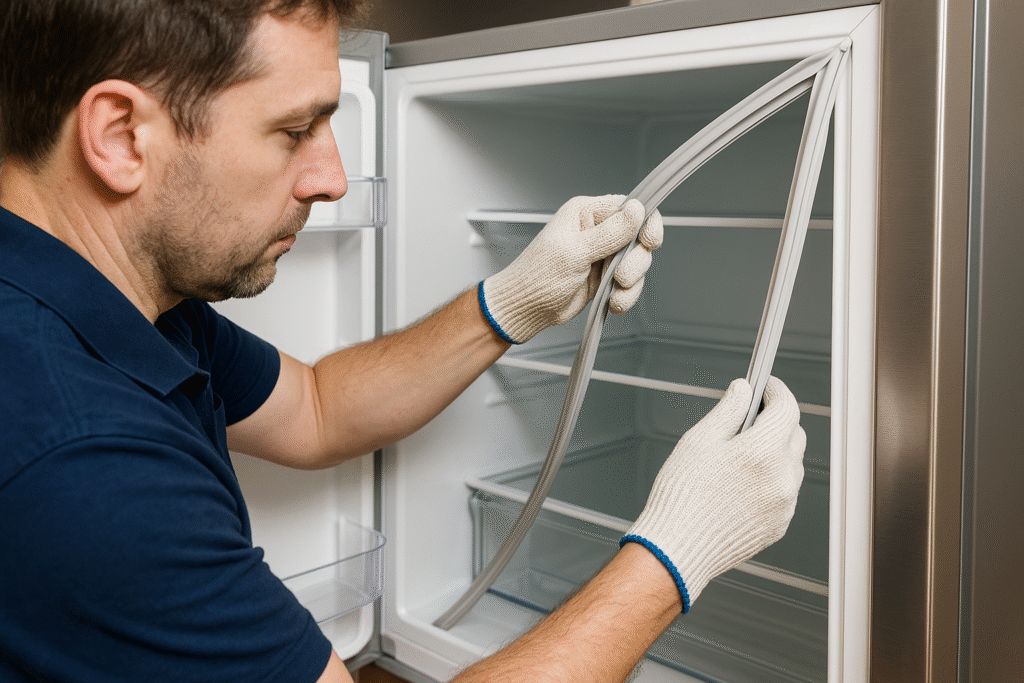
How to Replace a Refrigerator Door Gasket
Nov
How to Replace a Refrigerator Door Gasket (Save Cooling & Energy)
Warm fridge? Rising energy bill? A cracked or loose door gasket might be the reason. Learn how to replace it quickly, seal your fridge tight, and save money every month.
Why the Door Gasket Matters
Your refrigerator’s door gasket — the rubber seal around the door frame — prevents cold air from escaping and warm air from getting in. When it’s worn, cracked, or stretched, the compressor must work overtime to maintain temperature, wasting energy and shortening appliance life.
Replacing a gasket is one of the simplest and most effective DIY fixes to improve cooling performance and energy efficiency.
Signs You Need a New Gasket
- Door won’t close properly or pops open.
- Warm spots inside the fridge.
- Condensation or frost around the seal.
- Cracks, tears, or mold on the rubber.
- Higher electricity bills or constantly running compressor.
Pro tip: If you can slide a piece of paper between the door and frame and pull it out easily — your seal is failing.
Tools & Supplies You’ll Need
- Replacement gasket (matched by refrigerator model number)
- Phillips screwdriver or nut driver
- Warm water or hair dryer (to soften rubber)
- Clean cloth or sponge
- Mineral oil (optional for smoother installation)
Step-by-Step: How to Replace a Refrigerator Door Gasket
1. Inspect the Old Gasket
Open the door and examine the gasket closely. Look for splits or areas that don’t sit flush against the frame. If the seal feels brittle or warped, it’s time to replace it.
2. Remove the Old Gasket
Most gaskets are secured by a retaining strip or small screws hidden behind the inner door liner. Gently pull back the edge of the gasket and loosen each screw about halfway. You don’t need to remove them completely — just enough to slide the old gasket out.
3. Prepare the New Gasket
Unpack the new gasket and lay it flat in a warm area for 10–15 minutes. This helps relax folds from shipping. You can also dip it in warm water or use a hair dryer on low heat to make it more flexible.
4. Install the New Gasket
Starting at the top corners, insert the new gasket’s lip behind the retaining strip. Work your way down both sides evenly, keeping tension balanced. Tighten screws gradually to hold the seal firmly in place.
5. Test the Seal
Close the door and check for gaps. Run your hand along the edge — you shouldn’t feel any air escaping. If there are small gaps, gently warm the gasket and adjust until it seals tight.
How to Check for Air Leaks
- Dollar Bill Test: Place a dollar bill between the gasket and the fridge frame, then close the door. If it slides out easily, the seal is weak.
- Light Test: Turn on a flashlight inside the fridge, close the door, and look around the edges — if light leaks through, so does air.
Common Causes of Gasket Damage
- Constant pulling or slamming of doors.
- Food debris and grease buildup causing the seal to warp.
- Excessive frost or temperature changes near the door frame.
- Old age — most gaskets last 5–7 years on average.
OEM vs Aftermarket Gaskets — Which to Choose?
| Feature | OEM Gasket | Aftermarket Gasket |
|---|---|---|
| Fit & Design | Exact match for your model | Fits most compatible models |
| Durability | 3–7 years average | 1–4 years average |
| Cost | Higher | Lower |
| Material Quality | Thicker, factory-tested rubber | Varies by brand |
For long-term reliability and energy savings, we recommend OEM gaskets for newer fridges and high-end models. Aftermarket options work well for older units or temporary fixes.
Maintenance Tips for Longer Gasket Life
- Clean the gasket monthly with mild soap and warm water — avoid harsh chemicals.
- Apply a thin layer of mineral oil to keep the rubber soft and flexible.
- Check for food particles or crumbs that may affect the seal.
- Inspect corners regularly — they’re the first to lose shape.
FAQs
Q: How long does it take to replace a refrigerator door gasket?
A: Usually 30–45 minutes, including cleaning and alignment time.
Q: Can I use heat to fix a warped gasket?
A: Yes — a hair dryer on low heat can help reshape corners and improve sealing.
Q: Should I glue the gasket in place?
A: No. Most modern gaskets use screws or magnetic retention — adhesive isn’t needed and can make future replacements difficult.
Q: What if the door still doesn’t close?
A: Check for misaligned hinges or warped door panels. If the gasket fits perfectly but the door tilts, hinge adjustment may be required.
Conclusion
A leaky refrigerator door doesn’t just waste energy — it strains your compressor, reduces cooling efficiency, and costs you money every month. Replacing a worn gasket is one of the easiest repairs that delivers instant results.
Order the right refrigerator door gasket for your model at RepairPartsZone and enjoy faster shipping, verified fit, and long-lasting performance.
